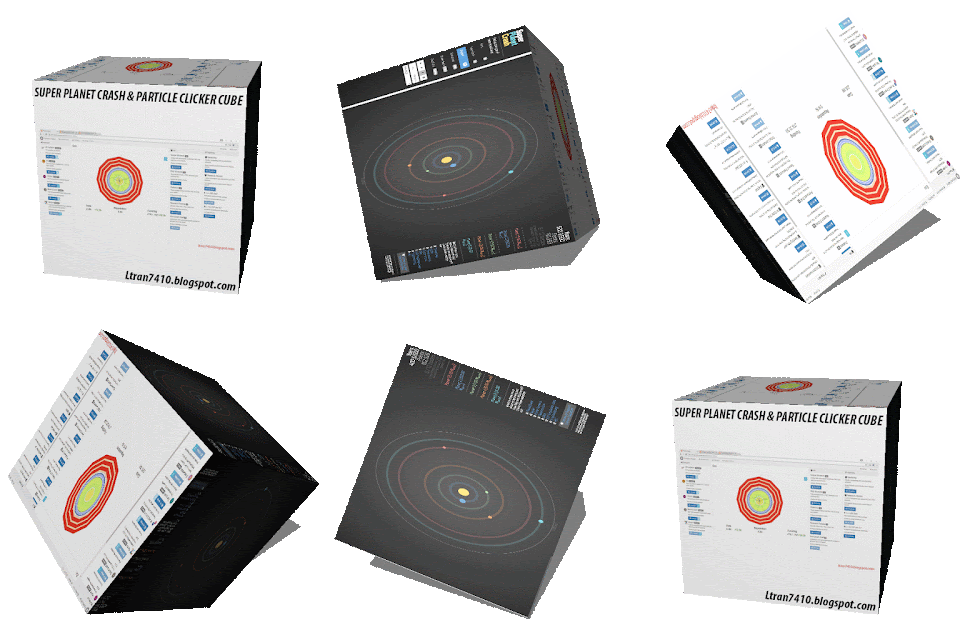
Friday, January 20, 2017
3D Photoshop Cube
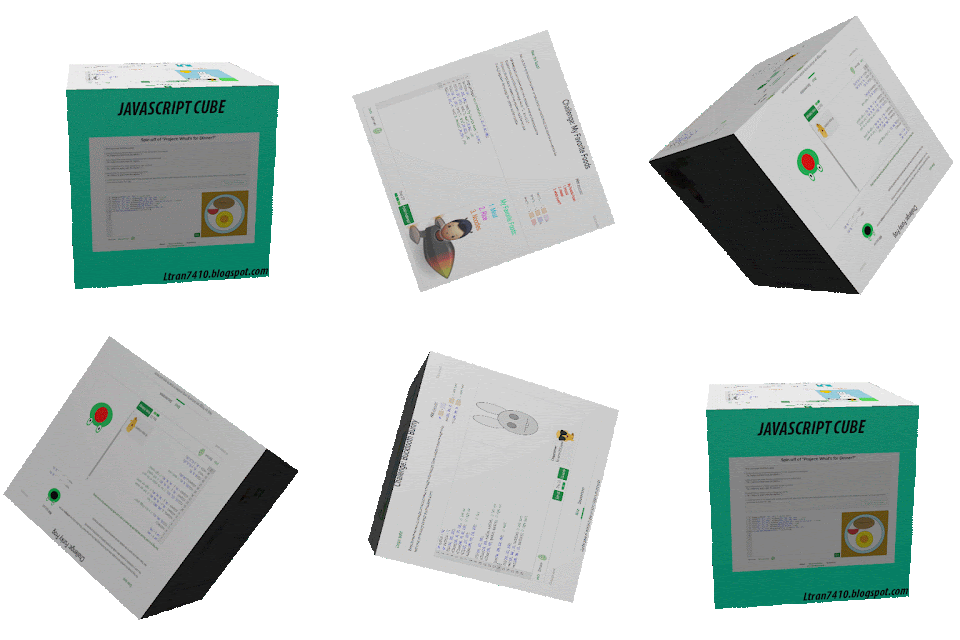
JAVASCRIPT CUBE
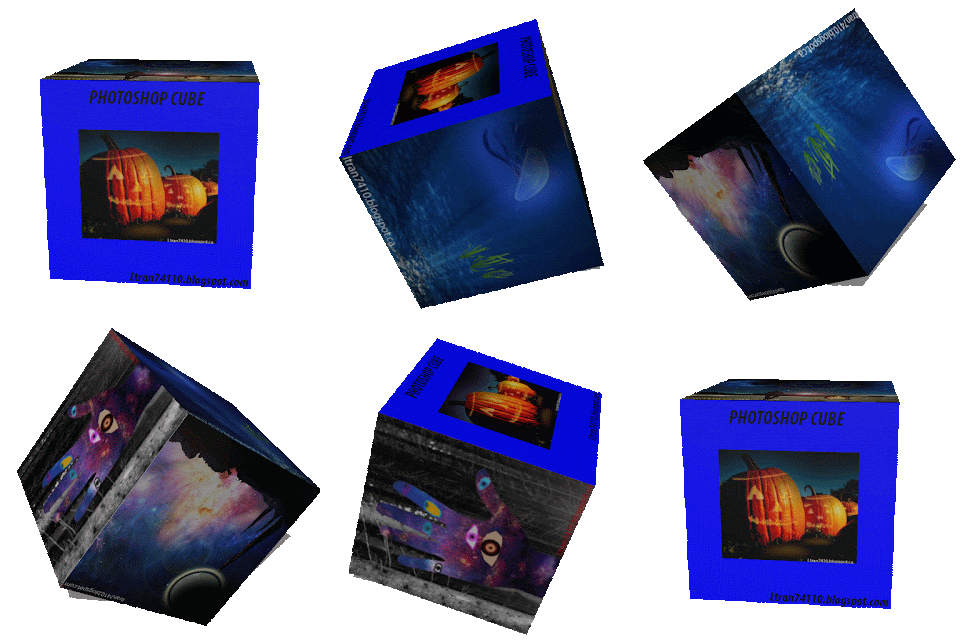
PHOTOSHOP CUBE
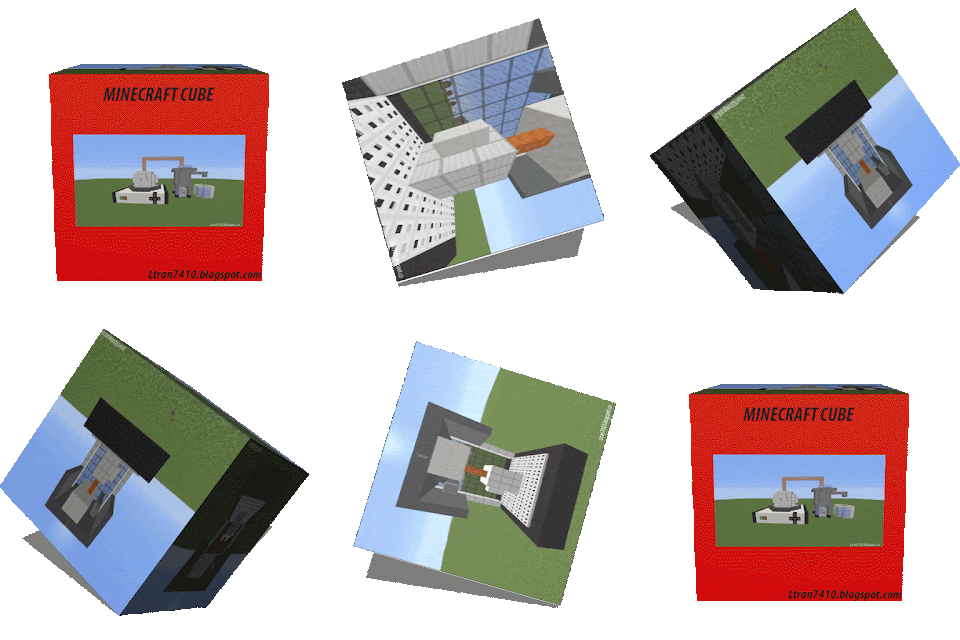
MINECRAFT CUBE
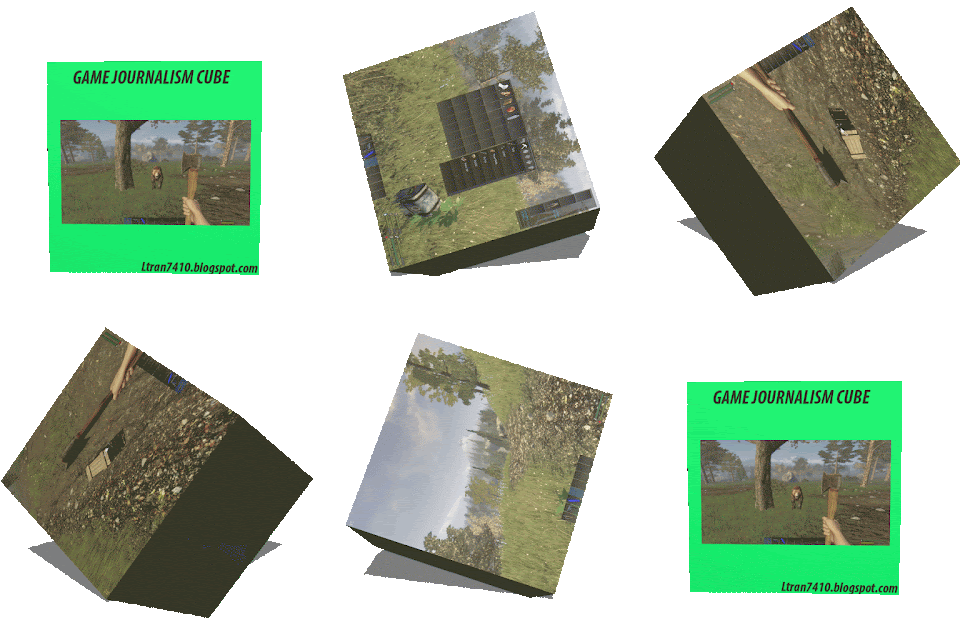
GAME JOURNALISM CUBE
HEALTH AND WELLNESS WEEK CUBE
INSTRUCTIONAL SLIDESHOW CUBE
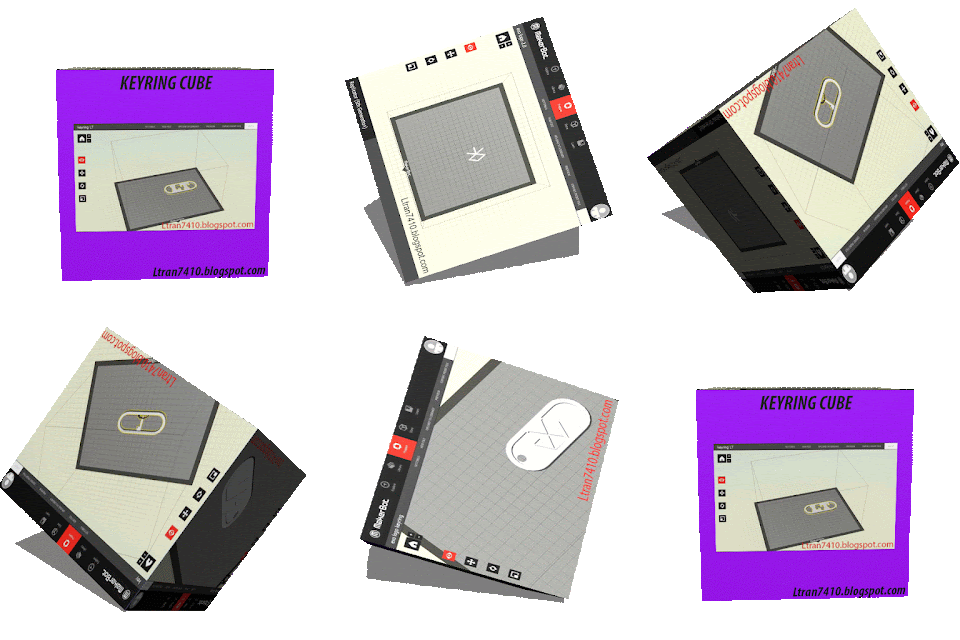
KEYRING CUBE
Thursday, January 12, 2017
Friday, January 6, 2017
Friday Post - January 6, 2017
1. Steps to creating an oval keychain:
- First you need to choose your template as millimeters
- Go to the rectangle tool and write in the dimensions 100,40, press enter
- Click on zoom extents
- Use the tape measure tool, draw a 5 millimeter top and bottom border.(Type in 5)
- Draw 20 lengthed on both sides. (Type in 20)
- Now use the 2 point arc tool. You need to go to the intersection of the 20mm line at the top of the rectangle and click that spot.
- Then go to bottom of that 20mm line and click it.
- Now drag it out to the left, to the edge of the rectangle and click. It's going to give you a half circle.
- Do the exact same thing on the other side.
- Then do the same thing except instead of making a big half circle you're now making a smaller one. Go to the intersection (The lines that are touching)
- Make 2 points, one at the top intersection and one at the bottom.
- Then drag it out till 15mm. Or till when it says half circle.
- Do the same thing on the opposite side as well.
- Now go to the line tool and draw a line from the top of the small half circle to the other side of the other small half circle.
- Then you could see it wants to continue so press ESC.
- Now do the same thing on the bottom line.
- Draw a line from the bottom of the small half circle to the other side.
- Now go to the eraser tool and erase every tape measure line and the corners to make it into an oval.
- Now right click anywhere in the middle, then click erase.
- Now use the push/pull tool and enter the number 5.
To add text just go into the tools tab and select 3D Text. And adjust it to your liking. (Make sure the text is touching the keychain. Go to scale or press 'S' to scale it) Also you can color it too by clicking the paint bucket tool. And if you want a downloaded item then go to the 'windows' tab and find '3D Warehouse' click on it and download what you want.
(For the font I used Rockwell Extra Bold)
2.
3. I think I kind of deserve this grade because I did a lot of work and finished most of my things.
4. I think my prediction compared to my prediction back in September is just a tiny bit different because in September I guessed that I got an 'A' when in fact I didn't do much. But this time I did a lot of work so I think this time it's a bit different.
Wednesday, December 14, 2016
Friday, December 9, 2016
Friday Post December 9
I'm going to be describing how to make a cool paper toy.
Things you''ll need:
Things you''ll need:
- 1 piece of paper
- Pen/Something to write with
- Ruler
- Scissors
- Tape
1. You want to turn your piece of paper into a square if it isn't already.
2. Fold your square, hamburger style once.
3. Open it all up and cut it in half (you should end up with 2 rectangles or something like that)
(Since you have 2 pieces, you can make 2)
4. Use one piece of paper out of the two and fold it hotdog style once.
5. Open it all up again and then fold both side to the folded middle line.
6. Open everything up again.
7. Fold it hamburger style.
8. Open it.
9. Fold the sides to the folded middle line again.
10. Then you want to fold the two sides to the middle,
11. Open everything up again.
12. Then fold it in half.
13. Now this is where we draw lines. Before we do that make sure you draw lines at the top folded part down to the open bottom. Do not draw lines at the open sides,
14. You can now get a ruler. Start at the folded top part. Draw lines in this pattern. 2 block, 1 block, 2 block. (Follow the folded pattern) Now go on the opposite side and draw this pattern. 1 block, 2 block, 1 block.
15. Now follow the lines that you draw and cut along the lines.
16. Now open it up and cut the inside middle. (It should be only 2 blocks that you cut)
17. Now the middle part should be divided into two. You want to bring up one of the middle parts to the top. Now use one piece of tape each to tape one piece together. (You should use 2 pieces of tape for one side) Now do the same to the other side.
18. Fold a whole side down and tape each side. Then fold the other side down and tape it down on the sides again.
19. You're basically done! Now you need to fix it to make it function properly. Fold down the folded lines to make it turn into squares.
Thursday, December 8, 2016
Subscribe to:
Posts (Atom)


